General
Before you start the installation, make sure the Requirements are fulfilled.
Interactive Installation
To start the installation of Mail & Deploy, start Mail & Deploy Setup.exe.
Welcome
On the welcome panel you can decide what you want to do; if you already have an version of Mail & Deploy installed, you can update or uninstall it. To perform a new installation, choose Install Mail & Deploy and click Next.
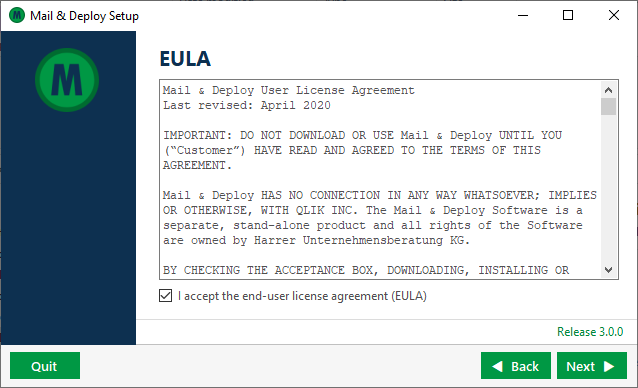
EULA
The end-user license agreement (EULA) will be displayed. Please read it carefully. If you do not accept the EULA, you can click Quit.

EULA
General Configuration
On this screen you will have to provide basic installation details.

General Configuration
| Setting | Description |
|---|---|
| Path | The file system path to install Mail & Deploy to. |
| Language | The default language of the installation; this can later be changed and set for every User individually. |
| HTTP Port | The port on which Mail & Deploy will be started after the installation. You have to set this to a port that is not used by any other application on the system. |
Click Next to proceed to the next screen.
Security Configuration
On this screen you can provide the security configuration.

General Configuration
| Setting | Description |
|---|---|
| Service Account | The credentials of the Service Account that will run Mail & Deploy. |
| Root Admin Credentials | These are the credentials of the first User that will be granted administration rights in Mail & Deploy. You can choose between two Authentication methods: if you select Windows Account you can specify the account name and password of a windows account you want to provide admin access; if you select Custom Credentials you can enter a custom username and a custom password that a user can enter when connecting to Mail & Deploy. If you have trouble logging in after installation and you have used a Windows Account please first check this page. |
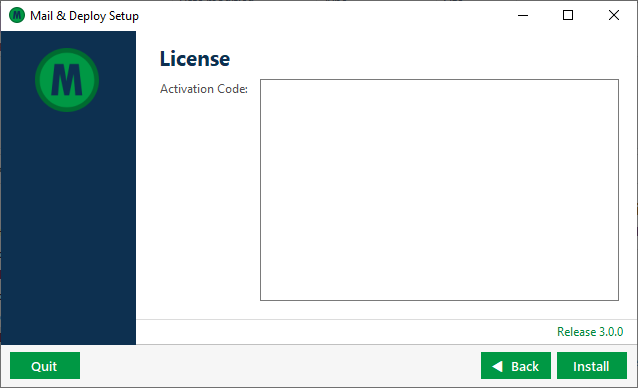
License
On this screen you have to enter the activation code.

License
Finished
When the installation has finished, you can click Launch Management Console to launch the Management Service.
Silent Installation
You can also run Mail & Deploy Setup.exe using command-line arguments for a fully automated, silent installation.
The syntax for the command-line is:
"Mail & Deploy Setup.exe" silent mode="install" path="
You can specify the following parameters:
| Parameter | header |
|---|---|
| path | The full path to the file system directory to install to. |
| language | The default language of the installation. This can later be changed in the user interface and set for every User individually: en. English de. German |
| httpport | The HTTP port on which to start Mail & Deploy. This needs to be a port that is not used by any other application on the system. Our recommendation is 14999. |
| saname | The name of the windows account to use as the Service Account. |
| sapassword | The password of the windows account to use as the Service Account. |
| admintype | windows. The root admin (the first User that will be administrator in Mail & Deploy) is linked to a windows account. custom. The root admin has custom credentials (i.e. custom username and password). |
| adminname | The username of the root admin. |
| adminpassword | The password of the root admin. |
| activationcode | The activation code to use to unlock the license. |
| erroroutputpath | The full path to the file that contains an error message if an exception occurs during the installation. |
When the installation runs successfully, the process returns exit code 0 (zero), otherwise non-zero.