General
The actual report design process cannot be performed in the web user interface (such as the Management Service) due to technical limitations. Instead, a local desktop application called Mail & Deploy Designer will be used to design reports.
Installing Mail & Deploy Designer
Before Mail & Deploy Designer can be used for the first time, it needs to be installed (see Requirements for more information).
Mail & Deploy Designer only needs to be installed once per computer and user.
To install Mail & Deploy Designer, you need to connect to the Management Service and click Reports in the main menu. At the bottom of the page, the button Download Designer needs to be clicked which will initiate a download of a file named Designer.zip; that file will be downloaded from Mail & Deploy Server, not from the internet. Then open the ZIP file and double-click the file Mail & Deploy Designer Installer.exe to perform the installation.
It is not required to have local administrator rights to perform the installation.
The Data\Designer folder of your Mail & Deploy root installation directory contains an *Installer.msi *file that can be used for unattended installations; it silently performs the same installation as when manually installing the designer as described above.
Launching Mail & Deploy Designer
To launch Mail & Deploy Designer for a particular report, connect to the Management Service and click Reports in the main menu. Then click the Design Report button for the report you want to design:

Design Report Button

Confirmation Dialog in Google Chrome
Main User Interface
The main user interface is divided into several sections:
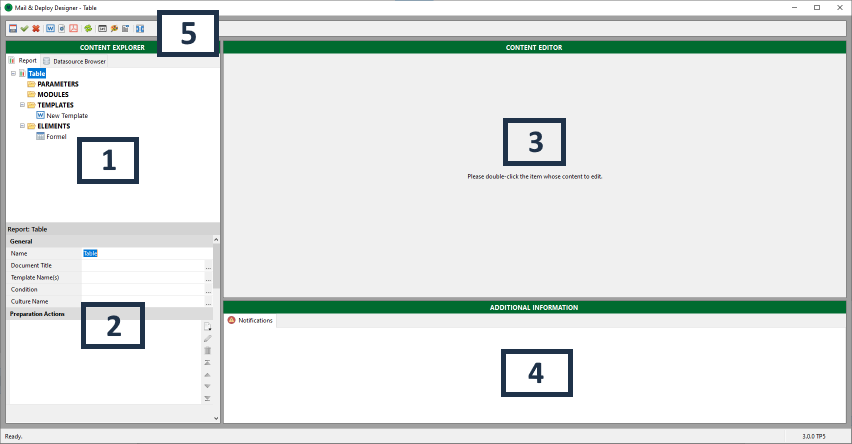
Mail & Deploy Designer Main User Interface
[1] - Content Explorer
The content explorer displays all the contents of the Report in a tree hierarchy. You can add content to the content explorer by right-clicking the folder to which you want add content to; a context menu will appear that let's you decide what to add to the folder.
Example: If you want to add a new Parameter to the report, right-click the Parameters folder and then choose New Parameter.
In order to perform an action on a content item (e.g. delete the item), right-click the item and choose the appropriate action in the context menu.
Example: If you want to delete a Parameter from the report, right-click the parameter and then click Delete Parameter.
[2] - Property Grid
The property grid always displays properties of the item that is currently selected in the content explorer. Every property has a tooltip that can be displayed by hovering the mouse over the name of the property.
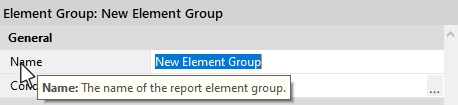
Property Tooltip
[3] - Content Editor
The content editor is used to edit types of content that support it (such as Modules). You can launch the content editor by double-clicking the item in the context explorer.
Example: If you want to edit a Module, double-click the module in the context explorer.
The content editor supports the following items:
- Modules
- Templates
[4] - Additional Information
This part of the user interface contains additional information that may be relevent when designing the report. You can toggle between a minimized and the normal view of this area of the user interface by clicking on Additional Information.
[5] - Main Toolbar
The main toolbar contains buttons to:
- Save the report.
- Save the report and close the designer.
- Close the desigenr without saving the report.
- Creating previews of the report in various file types (the available file types depend on the type of the report).
- Refresh the data loaded from the server (e.g. if you have added a new Datasource or you have rebuilt the cache of a datasource, you can click the refresh button to load this data into the designer).
- Manage Global Variables.
- Manage Global Styles.
- Manage Global Modules.
- Toggle between the expanded view (where the content editor takes all of the available space) and the normal view (where the content explorer, content editor, and the additional information are shown).